The other day I was contacted by Jackson Robinson of Kings Wild Project. He creates playing cards, but not just any regular old playing cards, he hand draws highly collectable playing cards. He wants cases for his cards and Bark Up A Tree Woodworks was selected to make them.
Jackson wants three sizes of cases, 9 deck, double deck and single deck. They are a clam shell style with magnets and barrel hinges. The wood decided on is Wenge (from Central Africa). I am going to show the process I’m using to build the cases.
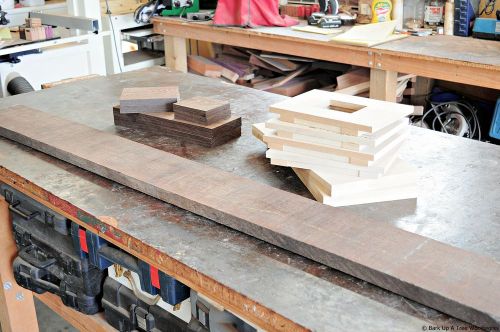
Card case Wenge rough stock, jigs and wood cut and surfaced, ready to go.
The Wenge lumber I get is in rough form. First thing I do is plane the board down to thickness close to final thickness. After planing I send the stock through a drum sander to final thickness. The wood is then cut to final dimensions.

Card case jig and Wenge stock with layout lines on it.

Card case jig and Wenge stock in the jig.
I make jigs out of MDF. The jigs are used to hollow out the cavities that the deck of cards will fit into. It takes two jigs for each size of case. I cut a hole in a sheet of MDF the dimensions I need the cavity to be. I then align the a set of MDF strips to hold the sides of the cases in place for layout and routing out the cavities.

Removing waste from the card deck cavity with the drill press and a Forstner bit.
Using the layout lines from the jig, I set up a fence on the drill press as a guide. I use a Forstner bit to remove the wood to start to form the deck cavity. It is faster to remove the waste wood with this method. I do this for both edges of the cavity.

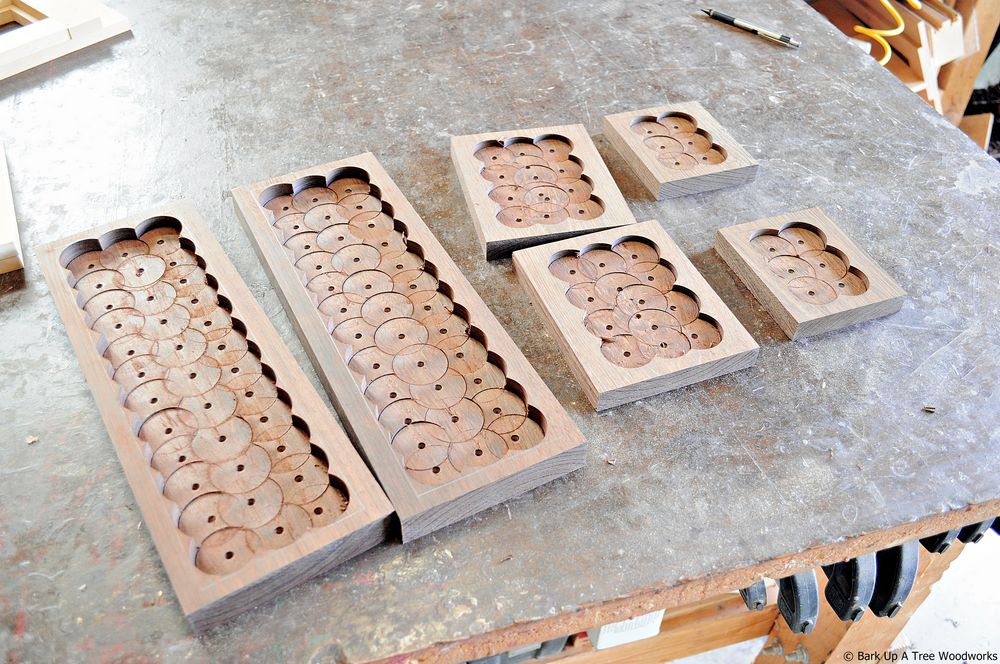
The 3 different card cases with the waste stock removed by the drill press.

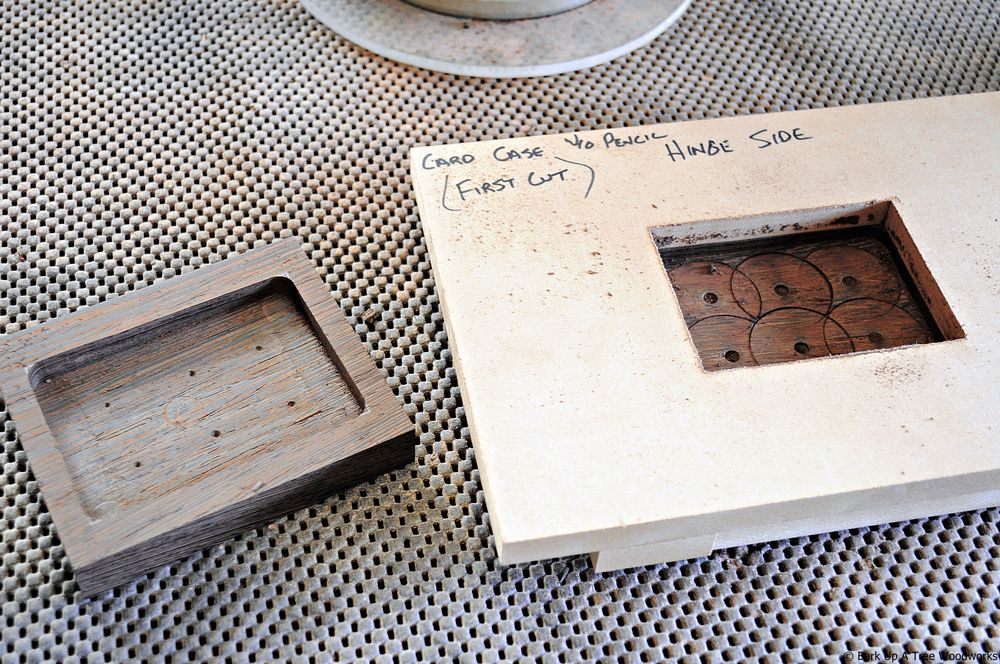
One half of the card case in the jig and the other half after the first cut jig.
I then use the router with pattern bits and the first cut jig which has a slightly smaller opening than the final cut jig. The reason to use two jigs is to eliminate a fuzzy line that occurs when using the two different bits. First bit takes a shallow cut evening out the edge of the case while bearing guide follows the jig. I then follow that with a longer patterning bit to get most of the way to final cavity dimension.

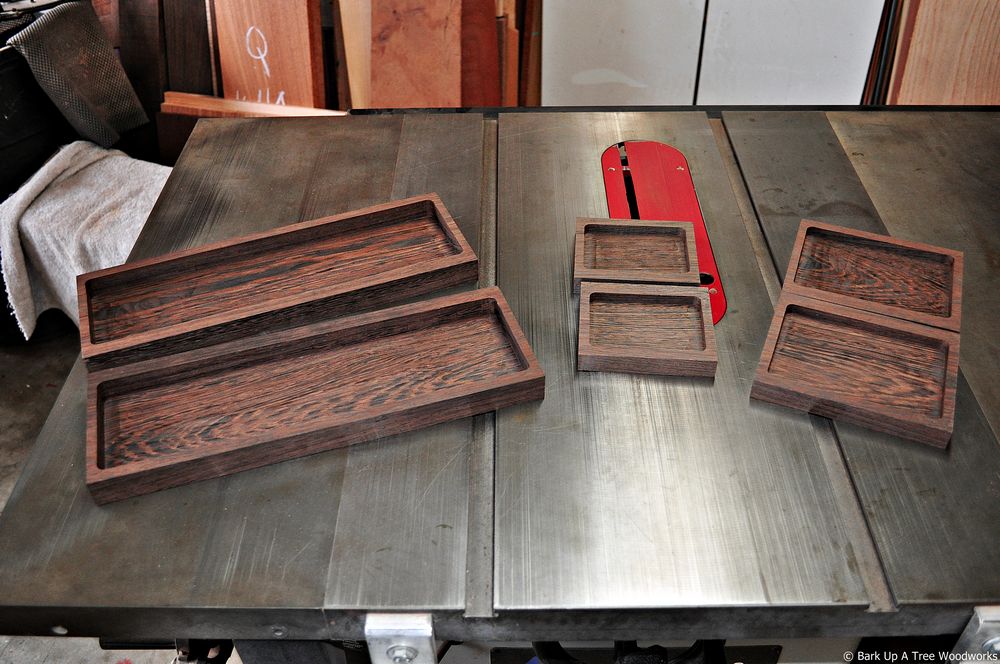
All the cases with the cavities at final dimensions.
The last step is to use the longer patterning bit one more time with the final dimension jig.

A case half with the holes for the magnets and hinges.
I then drill the holes for the hinges and the magnets. This is where we’re at right now. I need to get a medallion for a template before on in the process. I’ll come out with Part 2 when we get them finished.
Sean


 BEtsy")
 JEtsy")


